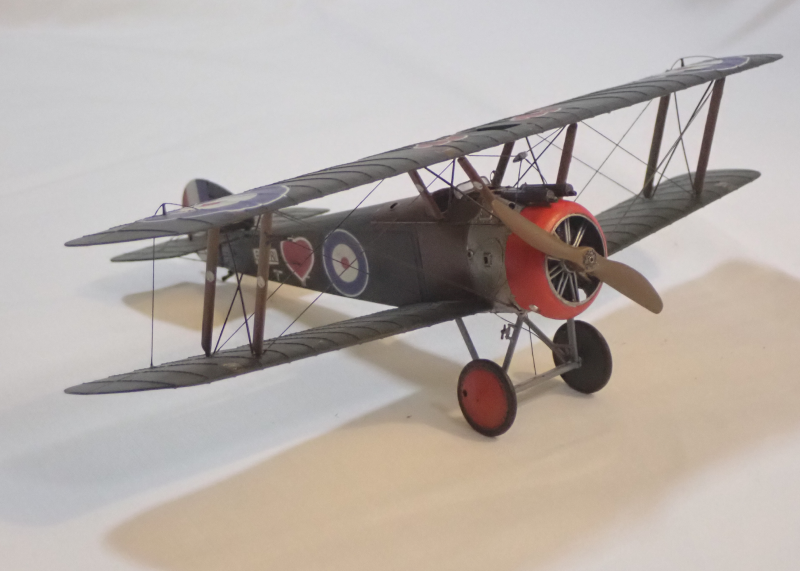
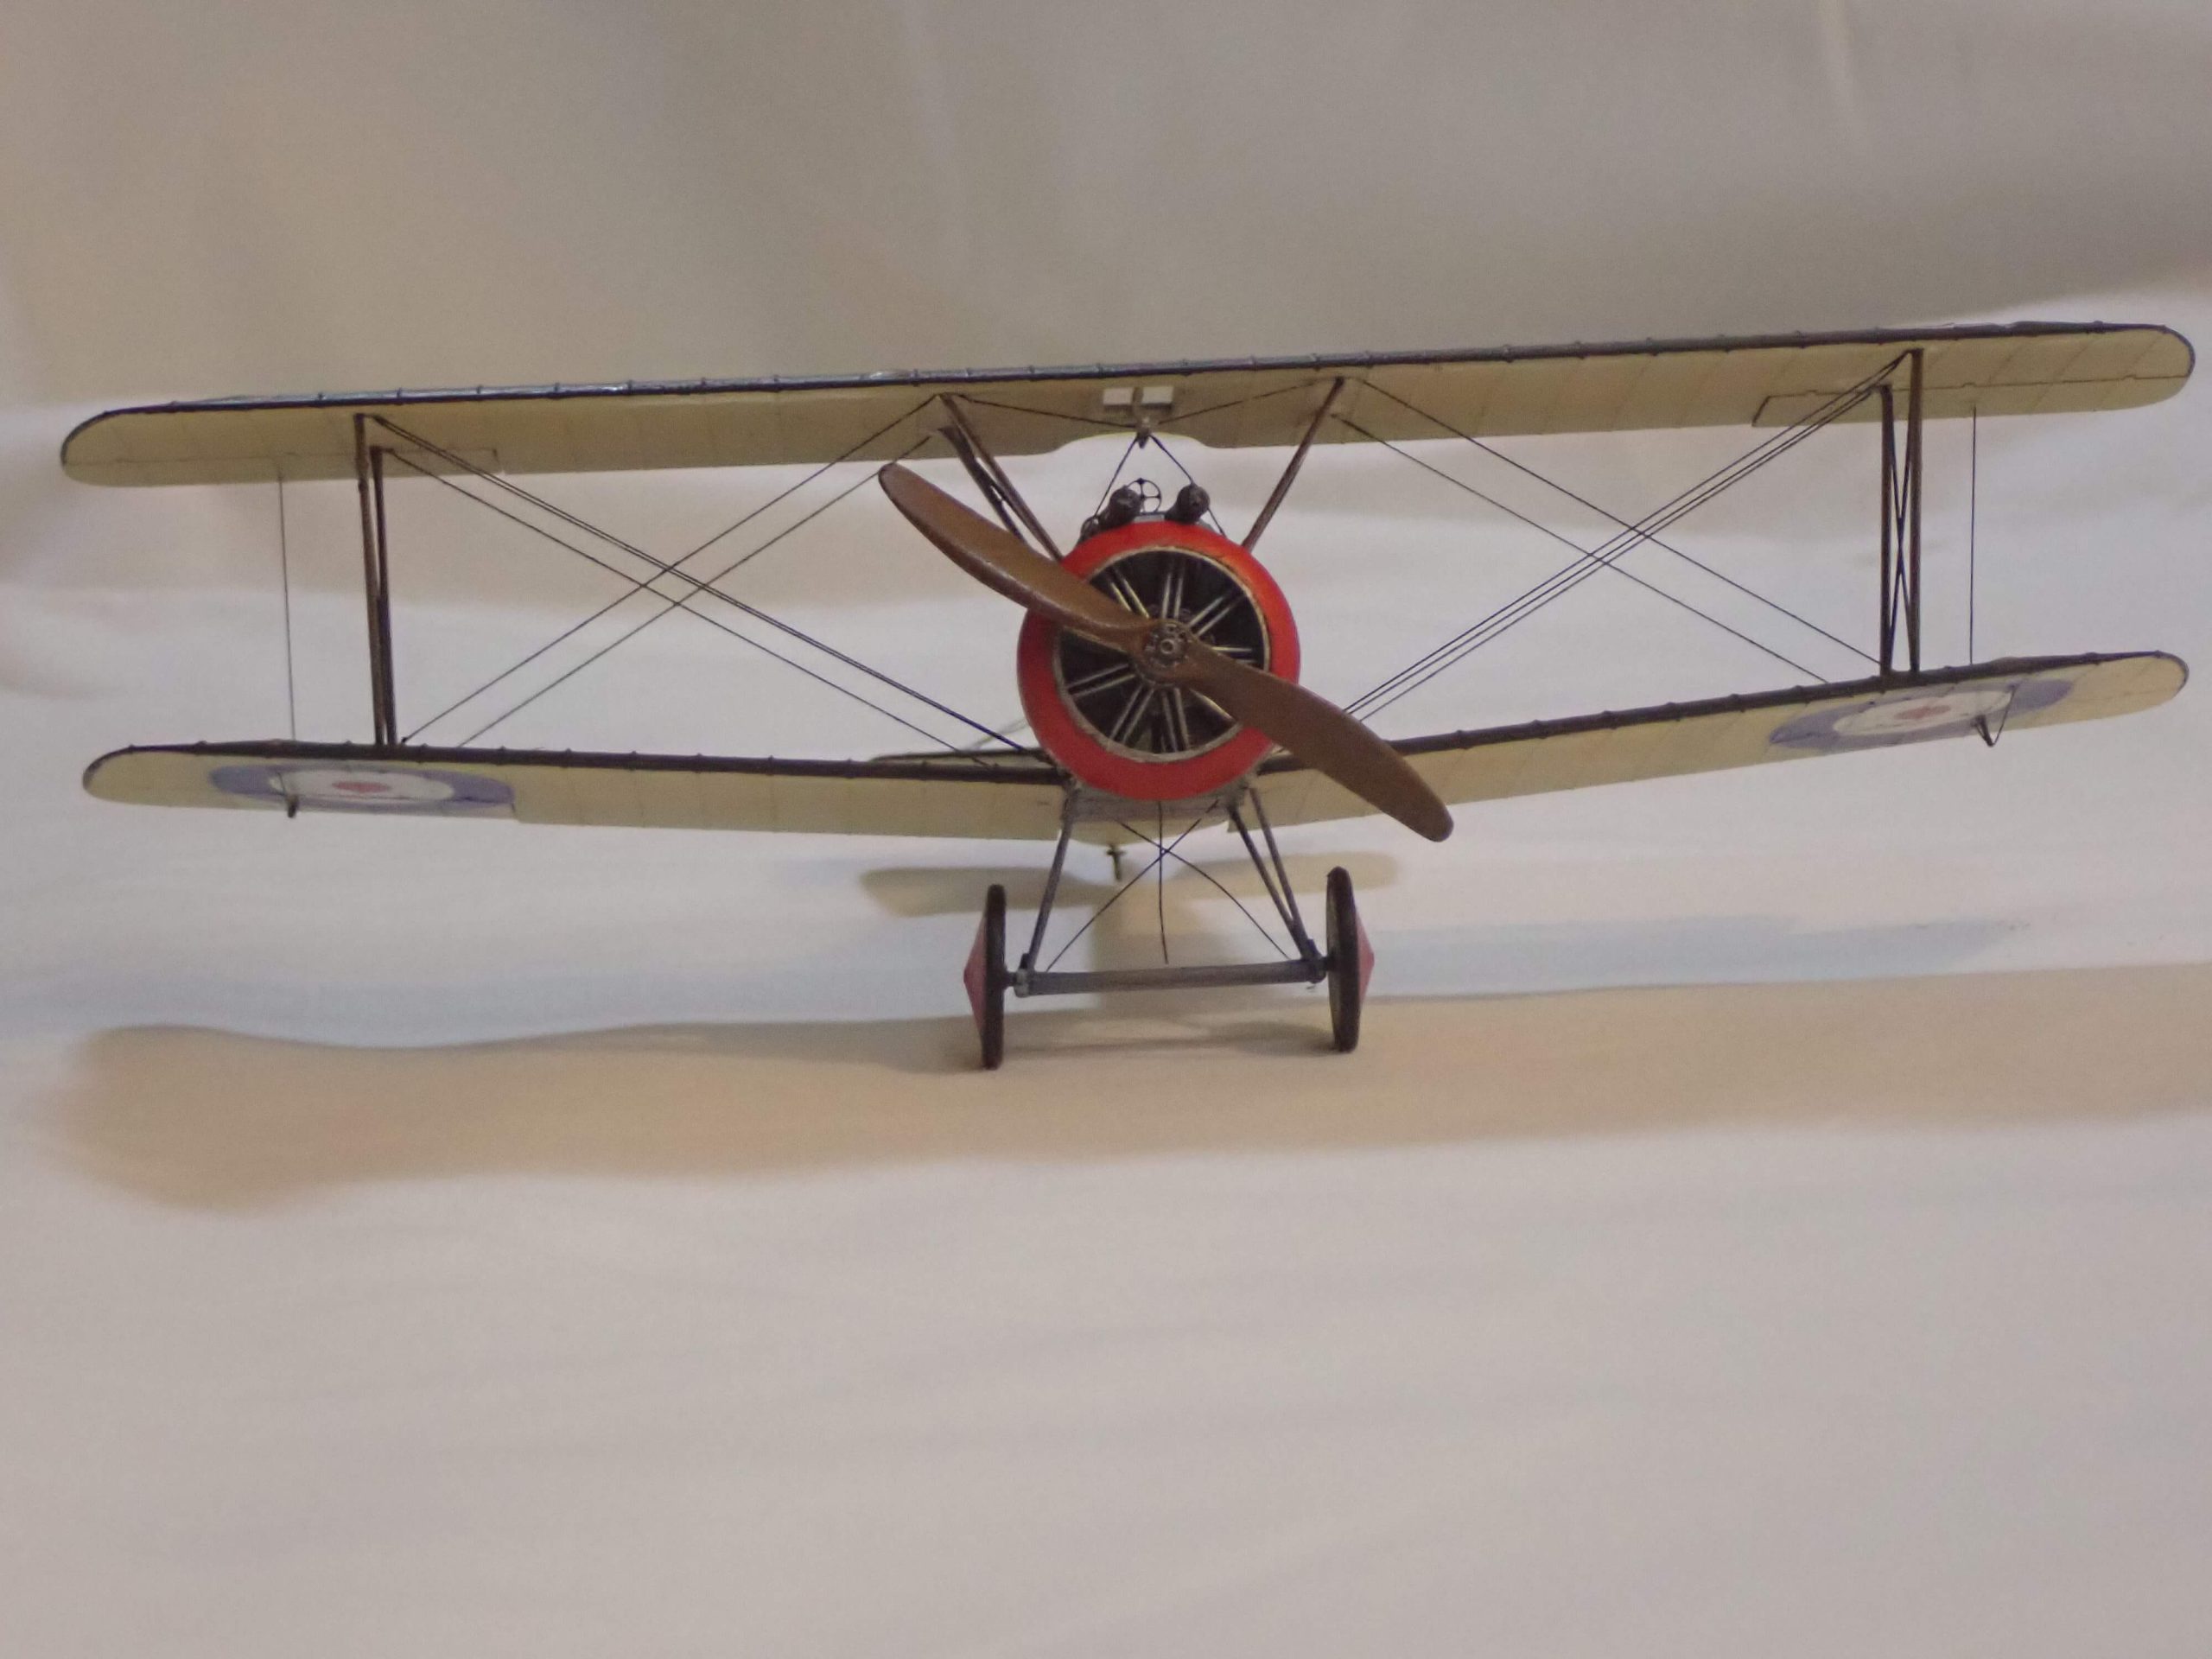
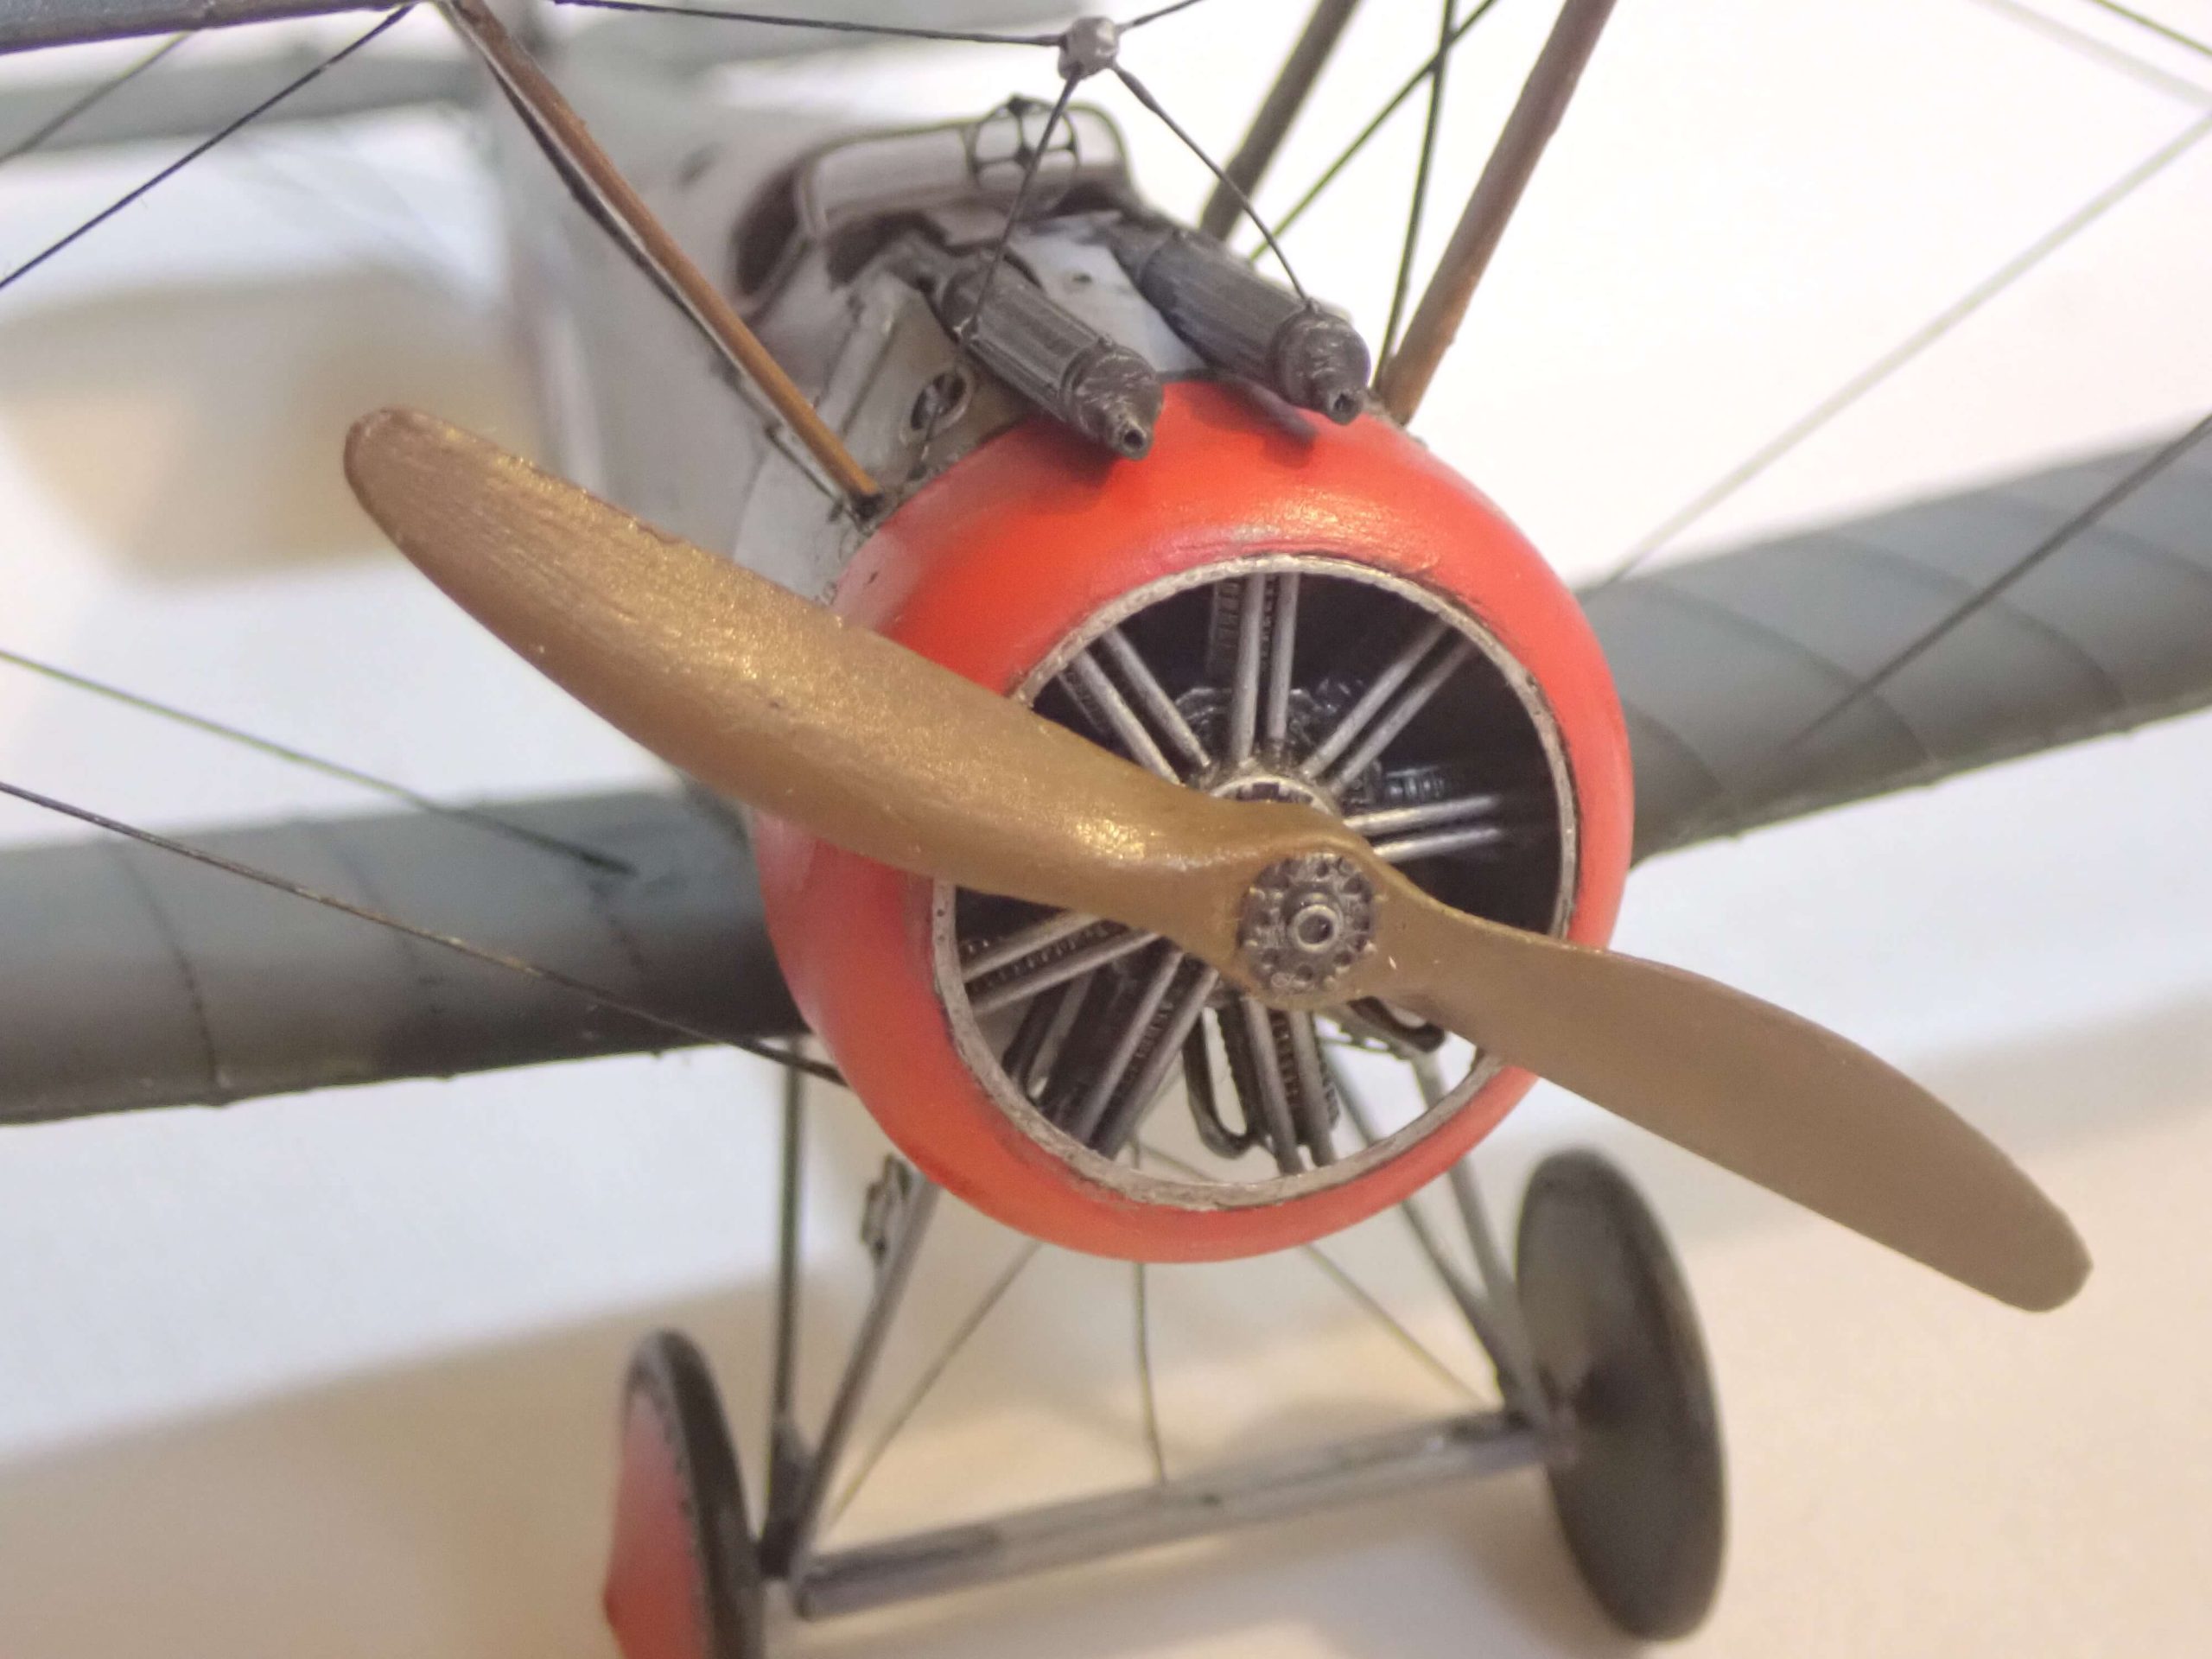
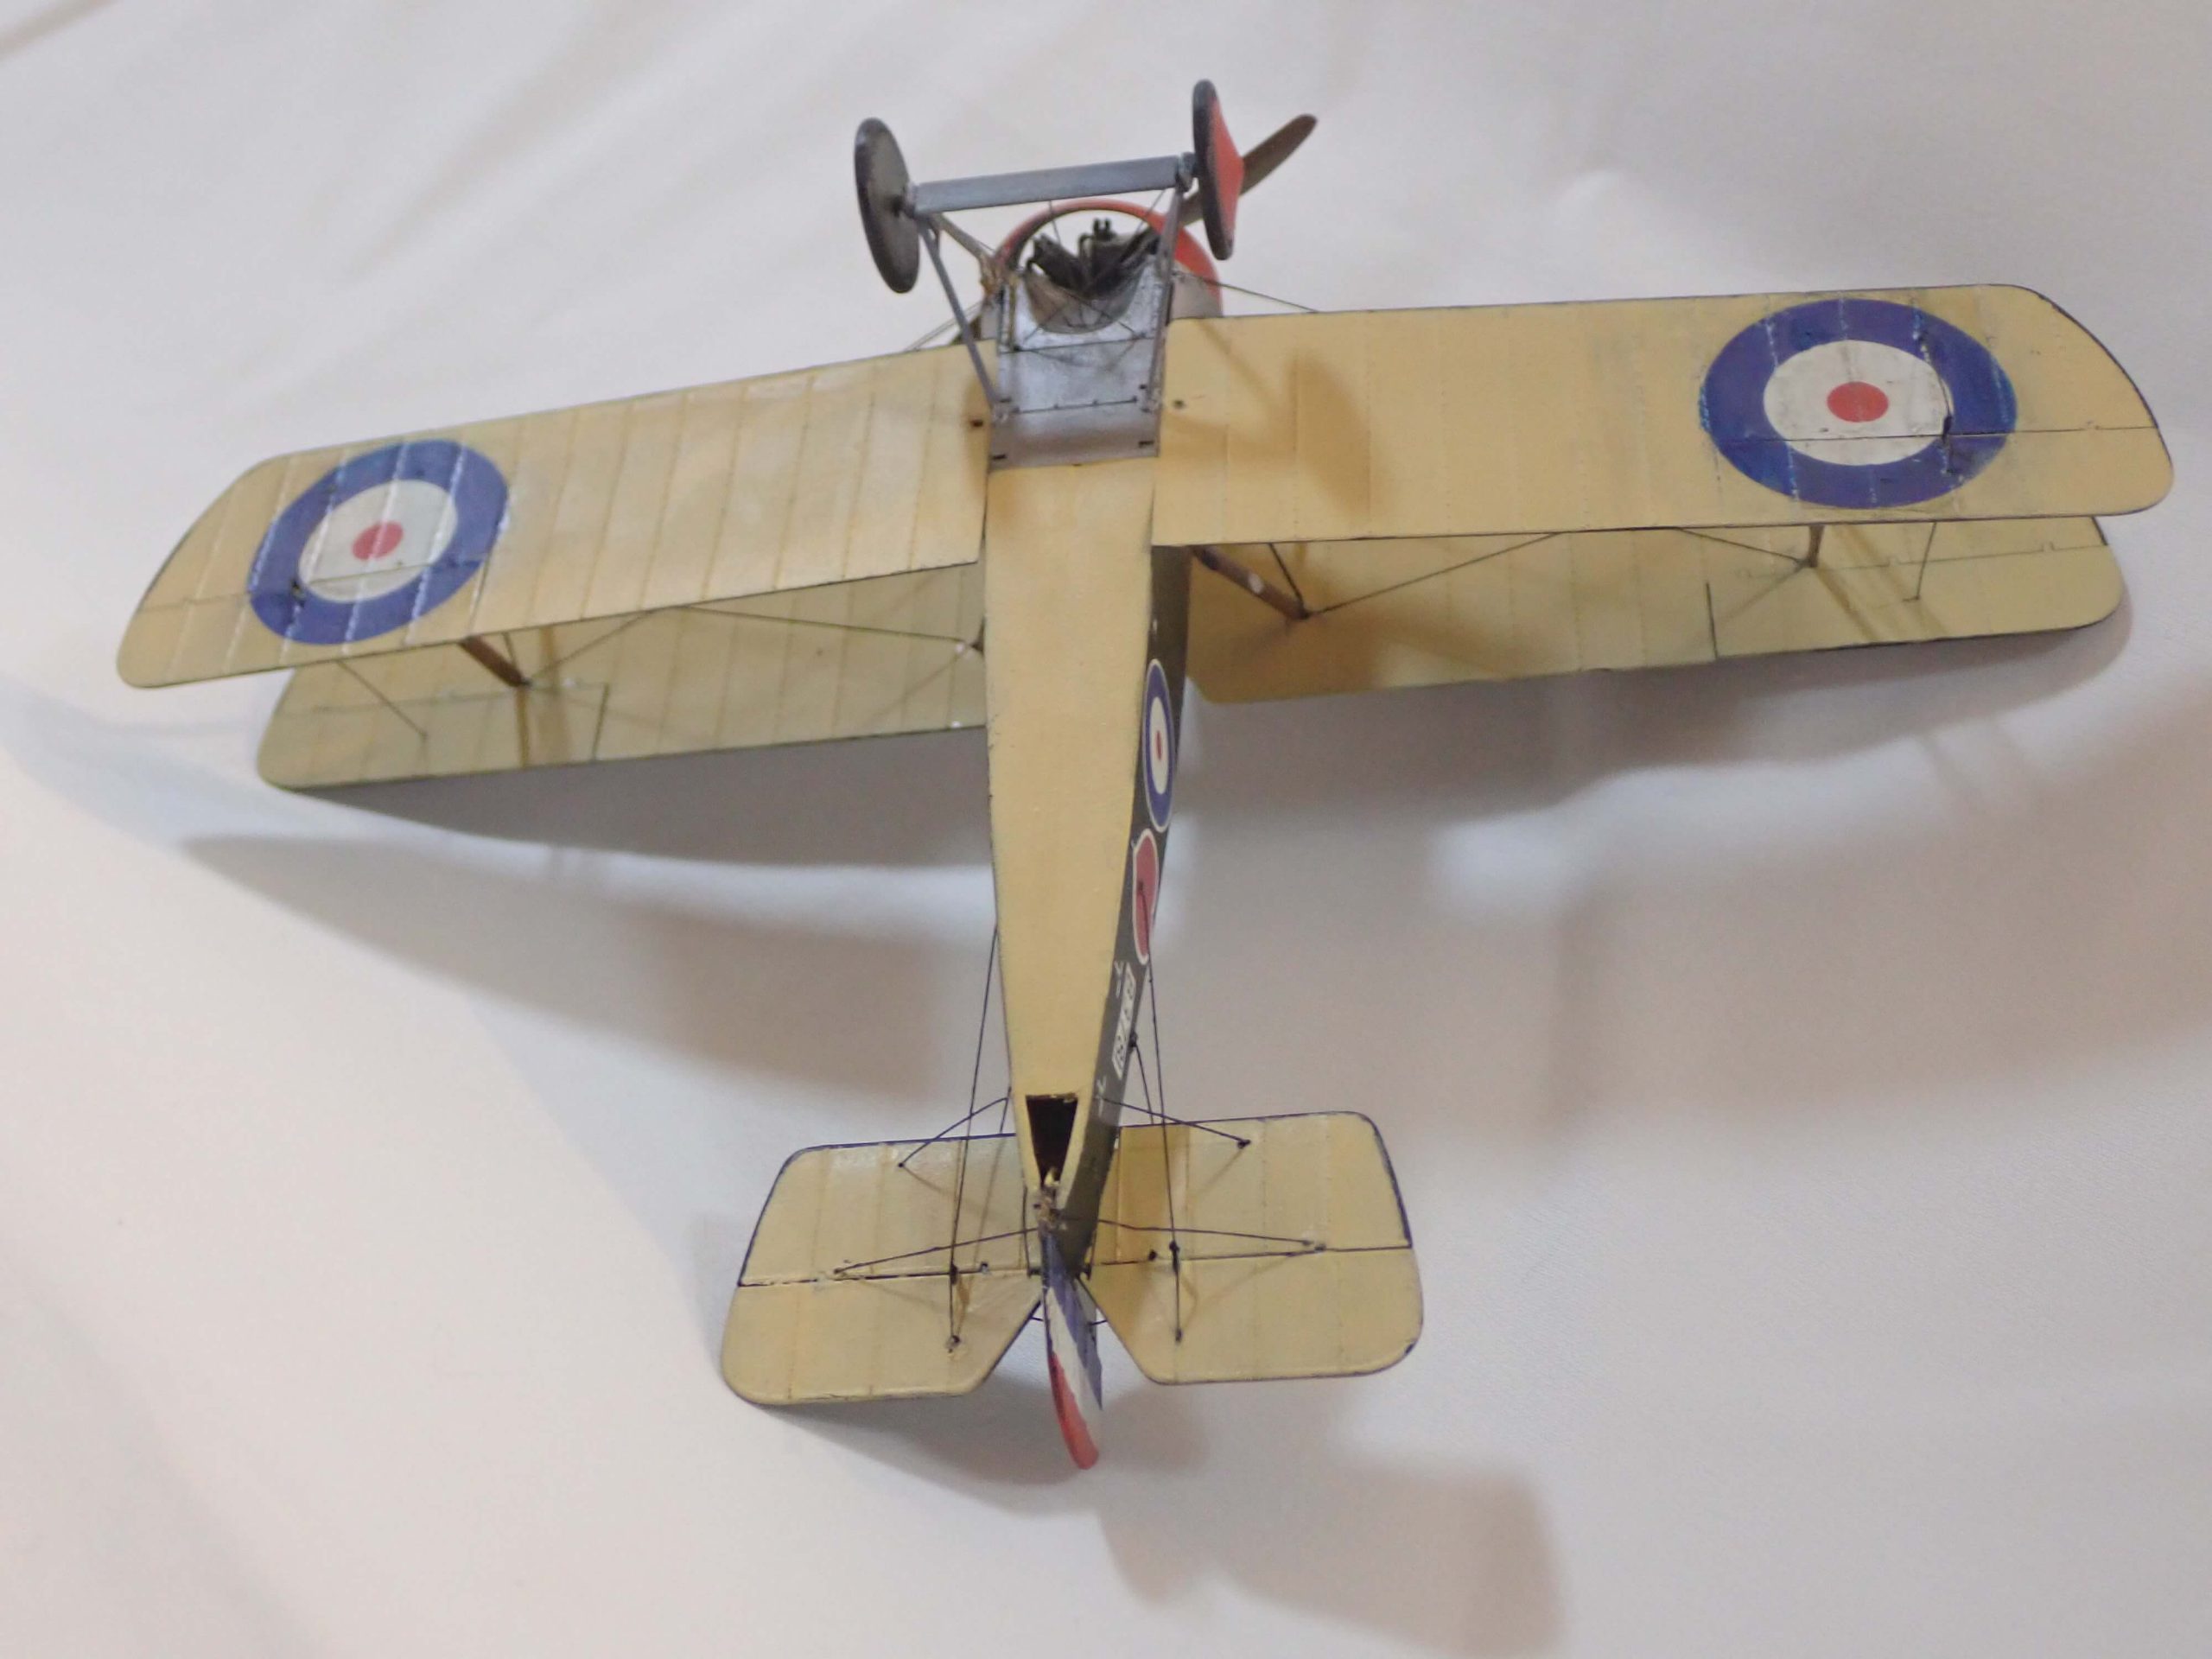
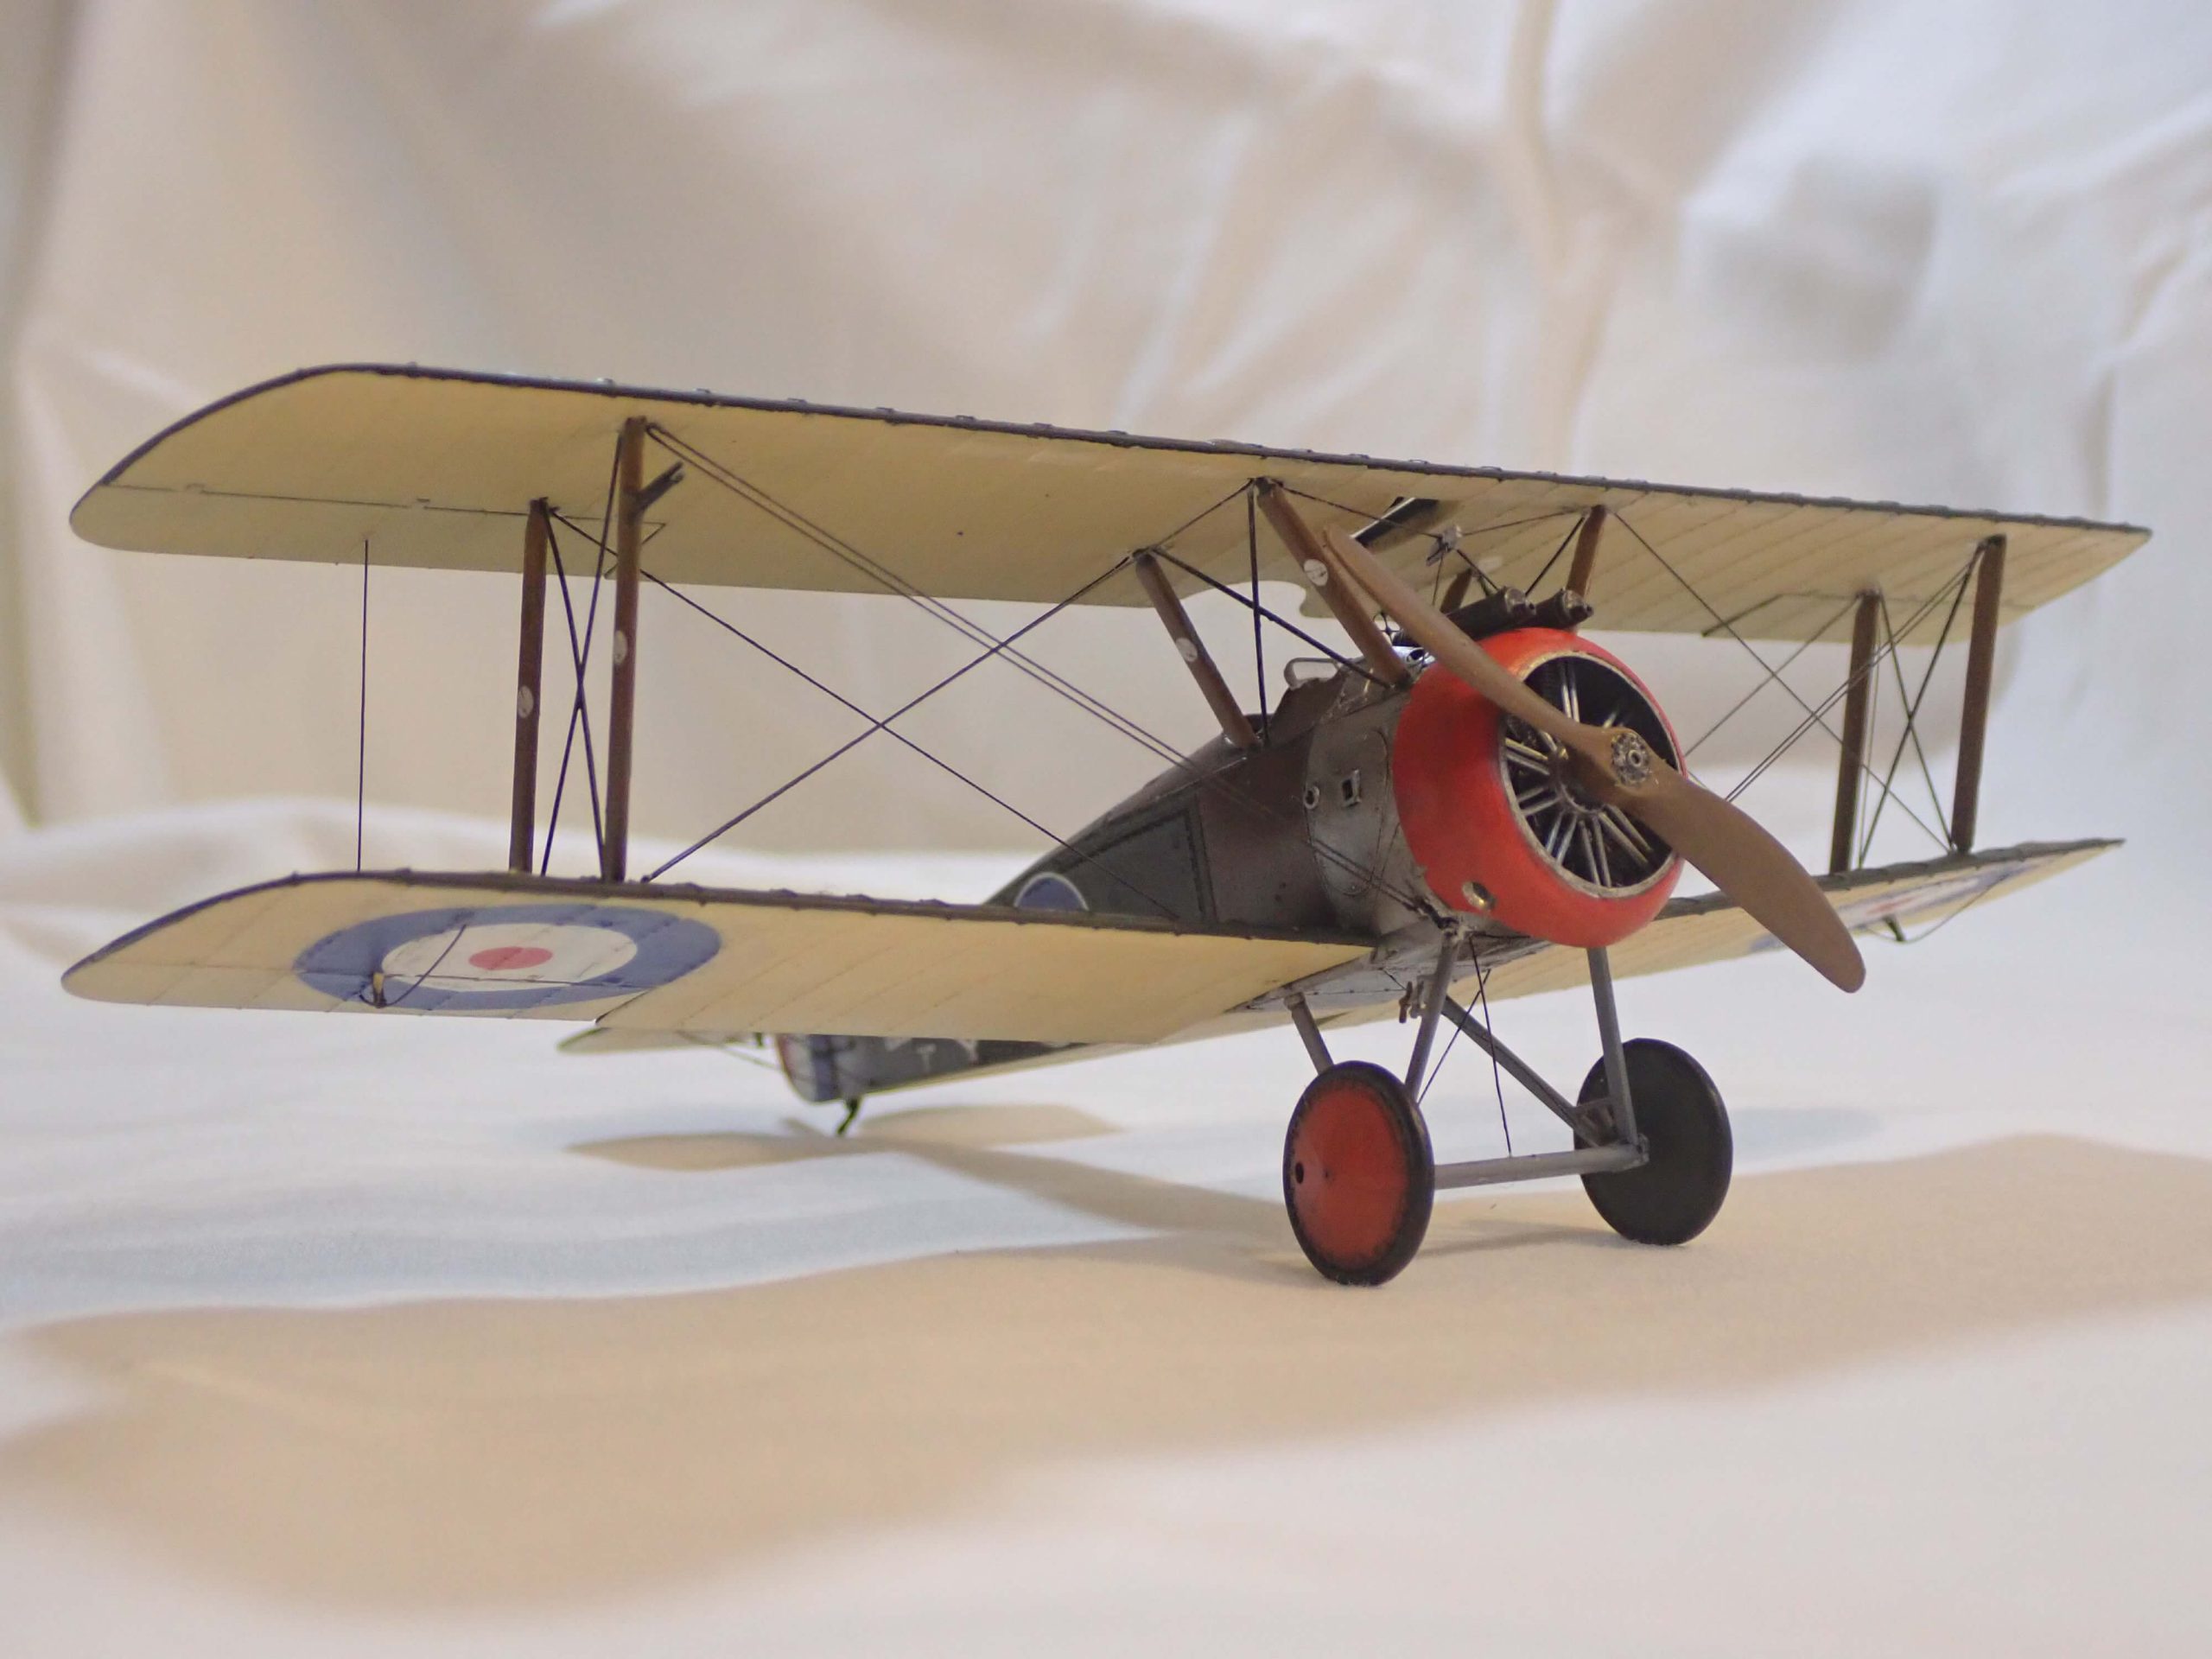
The Sopwith Camel was arguably the most famous fighter of WW1. The type was a single seat tractor biplane and the first to have a flat upper wing. Although it was small, light, and highly manoeuvrable, it was initially unpopular with the pilots due to its inherent difficulty in operation. Ninety percent of its weight was in the first two meters of the airframe and handling the torque on the rotary engine needed a great deal of practice. However, in the hands of an experienced pilot it was a lethal machine.
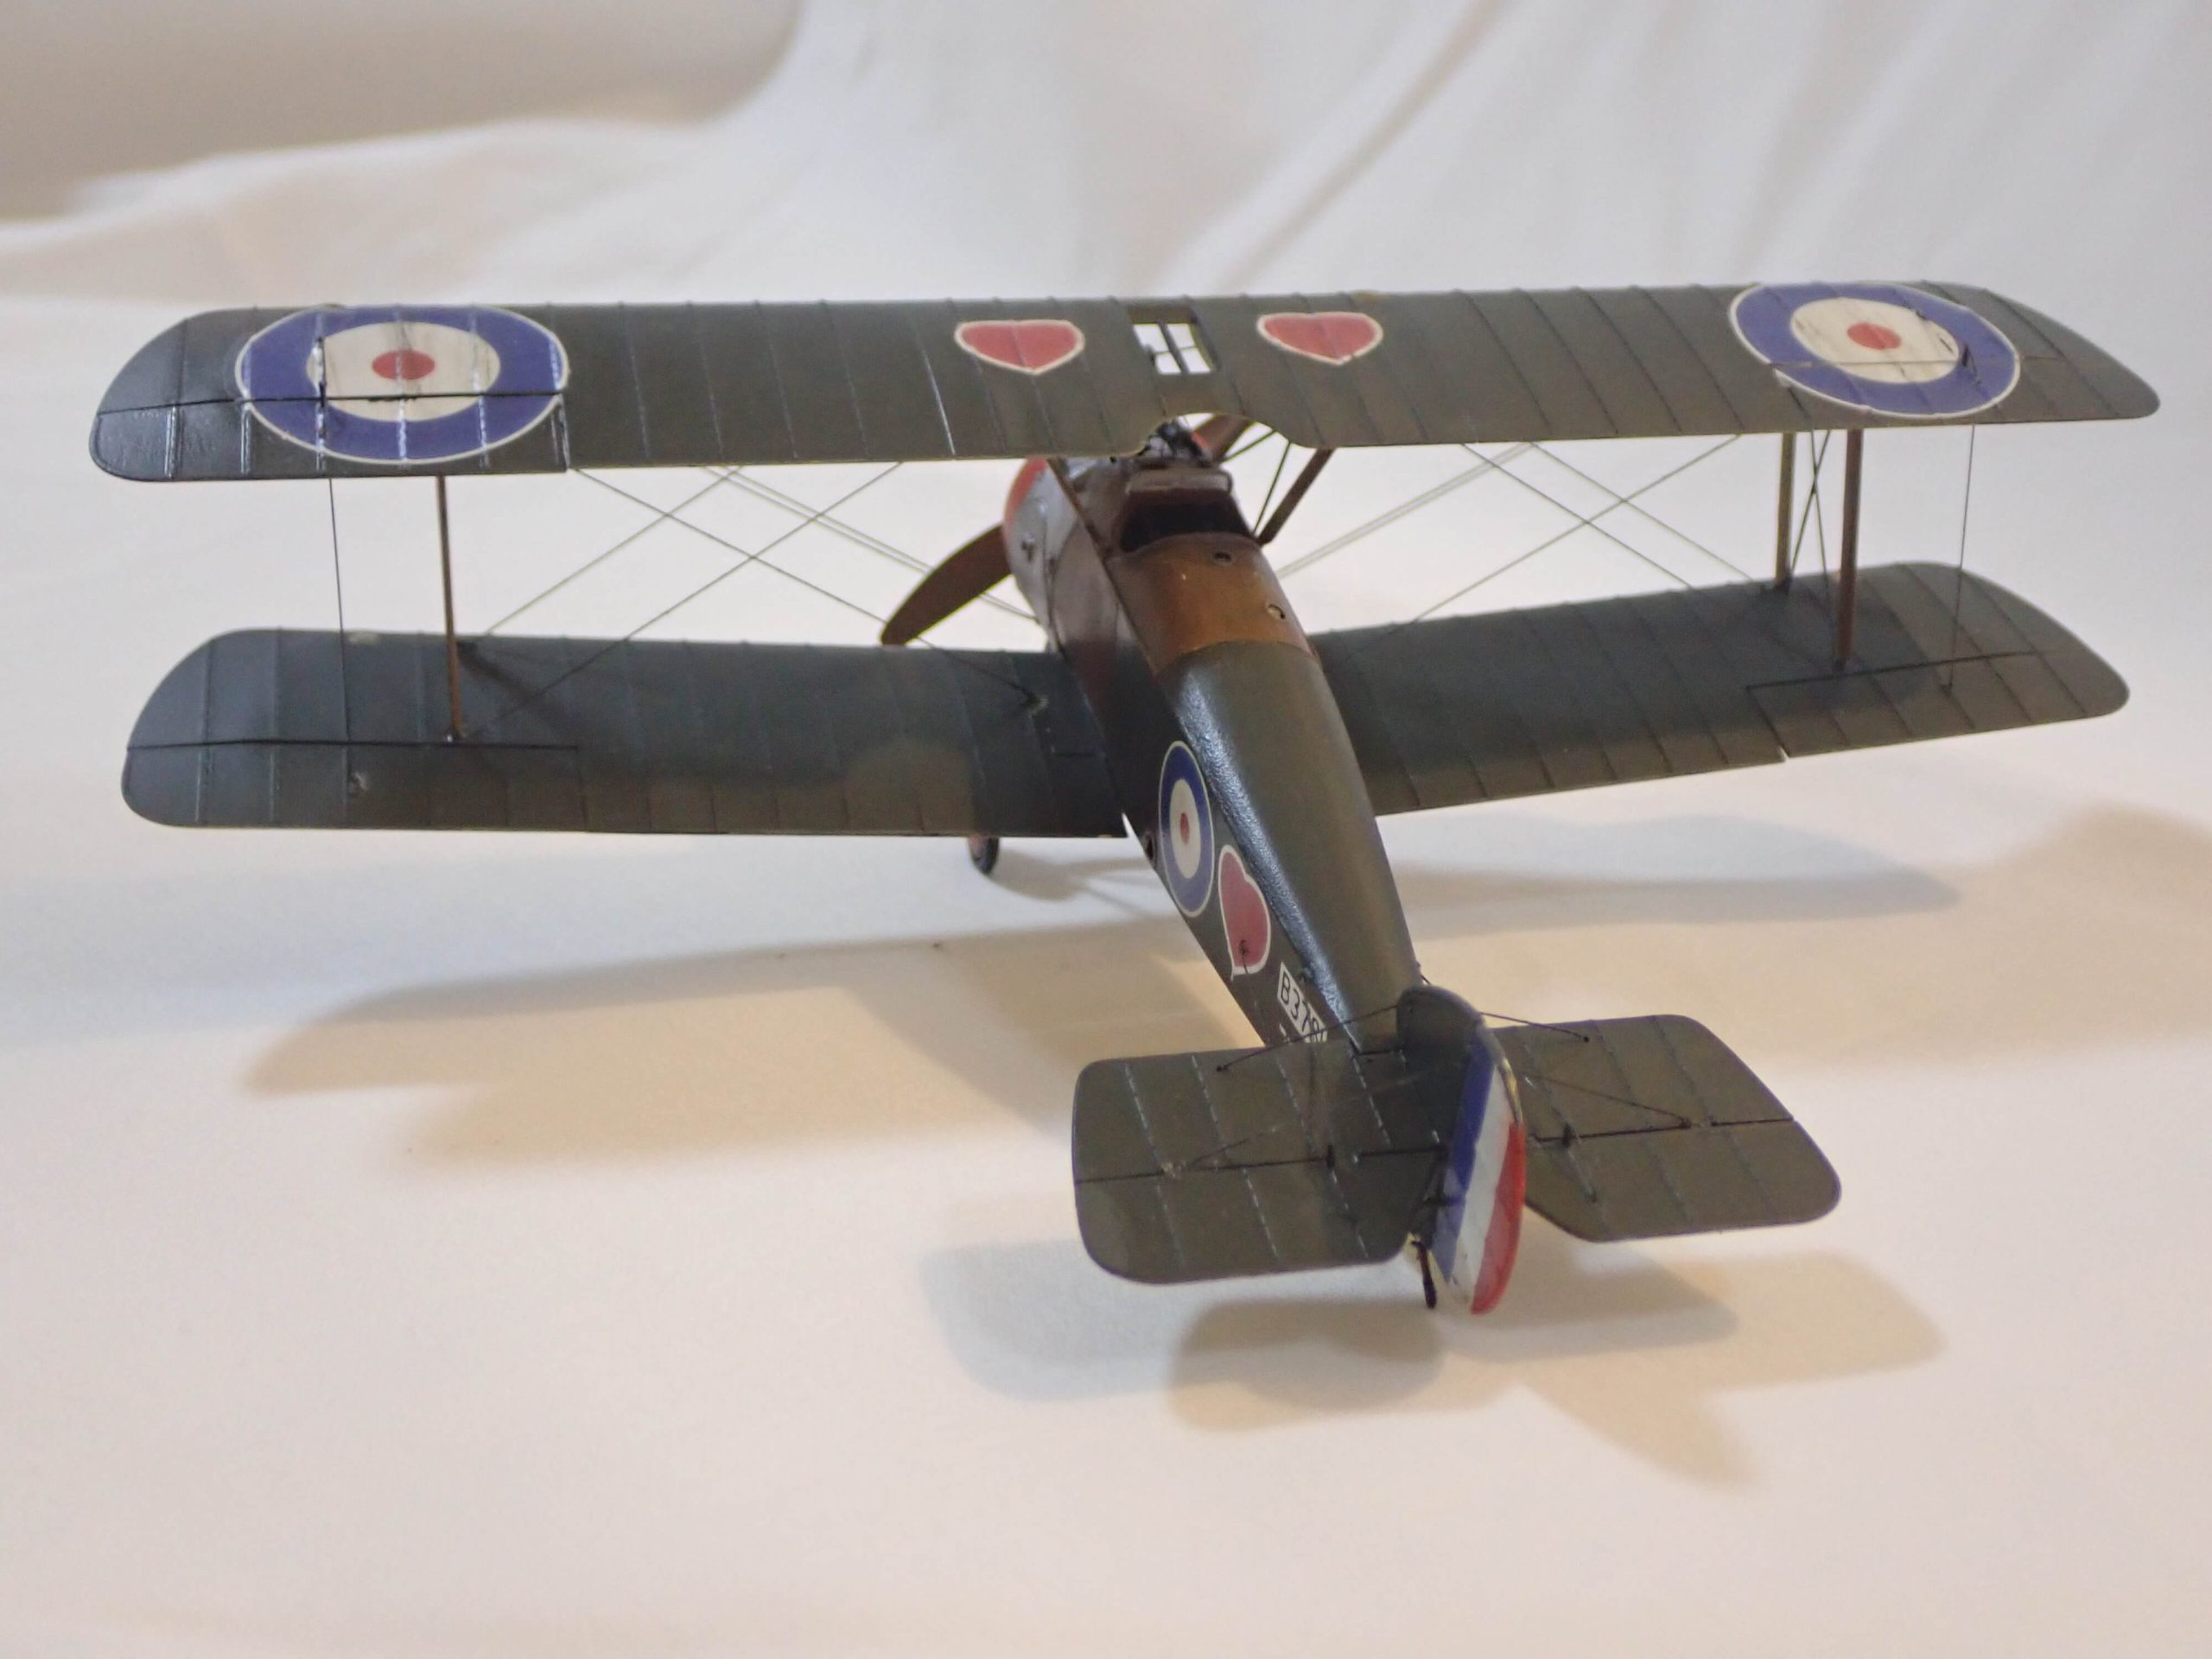
The type was introduced in June 1917 with No.4 squadron RNAS in Dunkirk. No 70 squadron RFC adopted the type and by early 1918 15 squadrons used the Camel as their prime weapon. By the end of the war over 55 squadrons were operating the type, including home defence and night fighter squadrons.
Post war many units were involved with the allied effort to supress the Russian Revolution in 1919. The Sopwith Camel was finally withdrawn from service in 1920.
